May 25, 2020 - 4 min read
Creating Gradients in Shortcuts
I have been looking for a while for a way to create images that contained a gradient from within Shortcuts. The reason is to be able to use them with other actions to achieve the some examples below. The first is to create gradient icons like these with the help of Toolbox Pro.
![]()
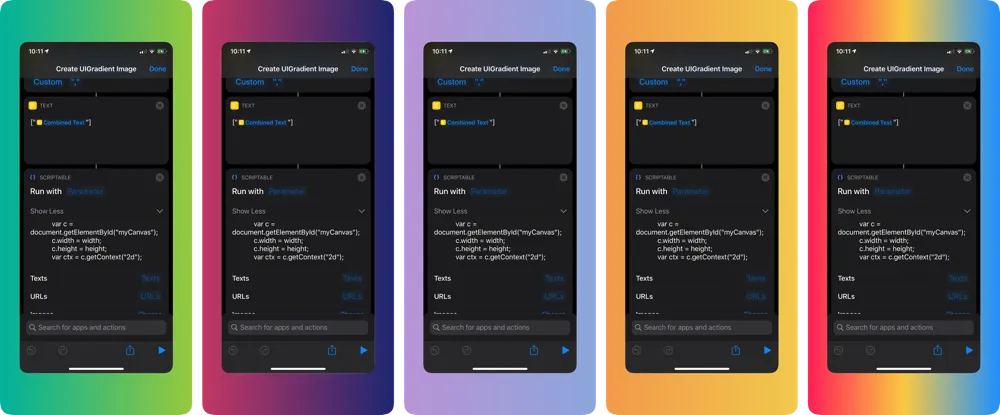
It would also allow you to create the following gradient screenshots.

The possibilities are endless, now it has been possible through the use of html and canvas element and then using a series of encoding the html as a base64 string and getting a web view and getting images from it, etc. This is not the ideal work flow though.
If you do want to see how I did this with something similar make sure you check out this post Extending iOS Shortcuts with Javascript.
That has worked great but the setup of this has meant I have not really wanted to share a lot of these add ons I have been creating. So for a while I have been looking for a way I can improve this experience and I think I have come up with a better way to achieve this with the help of Scriptable.
Scriptable to the rescue
I want to start by saying this method is still using html and the canvas element to actually create the gradient but I a different method to expose this in Shortcuts. This is where Scriptable comes in very handy.
If you haven’t used Scriptable before it is a fantastic free (with a tip jar) application for iOS that allows you to write JavaScript that can interact with some internals of iOS itself. It is created by Simon Støvring and you can read all about it here
To actually talk about how I am creating the gradient images I am using the Run Inline Script action that Scriptable exposes in Shortcuts.
One of the benefits of the Run Inline Script action is the code required to perform the action can be shared with your shortcut and you don’t have to ask the user to create a module with in Scriptable to expose this functionality in Shortcuts.
One thing to note you have to set the action to “Run in app” as it was not able to generate the gradient image if it ran just shortcuts.
var wv = new WebView()
wv.loadHTML(`<html>
    <body>
        <canvas id="myCanvas"></canvas>
        <script>
            var width = 1920;
            var height = 1080;
			var colours = ["orange", "red", "purple"];

            var points = 1 / (colours.length - 1)
            var c = document.getElementById("myCanvas");
            c.width = width;
            c.height = height;
            var ctx = c.getContext("2d");

            var grd = ctx.createLinearGradient(0, 0, width, 0);

            for(var i = 0; i < colours.length; i++) {
                var offset = 0;
                if(i == colours.length -1) {
                    offset = 1;
                }
                else {
                    offset = points * i;
                }
                grd.addColorStop(offset, colours[i]);
            }

            ctx.fillStyle = grd;
            ctx.fillRect(0, 0, width, height);
        </script>
    </body>
</html>`)


var js = `var gradCanvas = document.getElementById("myCanvas");
completion(gradCanvas.toDataURL())`;
await wv.waitForLoad()
var data = await wv.evaluateJavaScript(js, true);
var b64Data = data.replace('data:image/png;base64,','');
var img = Image.fromData(Data.fromBase64String(b64Data));
Pasteboard.copyImage(img)
Safari.open("shortcuts://")
The high level steps of the following code are
- Create a Webview
- Load the HTML that will create the gradient (out of scope of this post)
- Inject some JavaScript in to the HTML to pull the image data out with the evaluateJavaScript method
- Turn the image data that was extracted from the HTML into an Image object and the copy that Image to the clipboard.
- Open the Shortcuts app
The reason that second last step is important is because you can’t return an image object from the Scriptable Shortcuts action so putting the image in to the clipboard means it will be available to your shortcut after it is generated.
If you do want to use the image that has been generated by this action you will need to pair this action with a Wait to return Shortcut action so Shortcuts won’t continue to run while Scriptable is creating the image. Then once you return you can just get the image with the Get from clipboard action.
If you want to see this in action I have created a shortcut that has a list of gradients that have been submitted to UIGradients.com It then presents a menu for you to select one and creates an image of it. You can find that shortcut from the link below
There are many improvements that could be made with the above example like passing parameters in to the script instead of changing the text like it is to pick the colours, but I decided to leave that for another post 😀