Feb 8, 2021 - 4 min read
AppThemeBinding in Xamarin Forms
Archived Post
This post has been archived as its content is outdated.
Most devices these days have different system themes that you as a user can use. An example of this is in iOS (at the time of writing iOS 14) is the ability to choose between a light or a dark theme. If a user has a preference for a dark or a light theme then how would you be able to handle these cases in your Xamarin.Forms application.
Well, the Xamarin developers have thought about how you can easily implement this functionality in your app with something call AppThemeBinding and it will even handle changing if the user changes with your application on screen.
First let’s take a look at the iOS setting application to get an appreciation of the difference between its styles for both dark theme (on the left) and light theme (on the right).
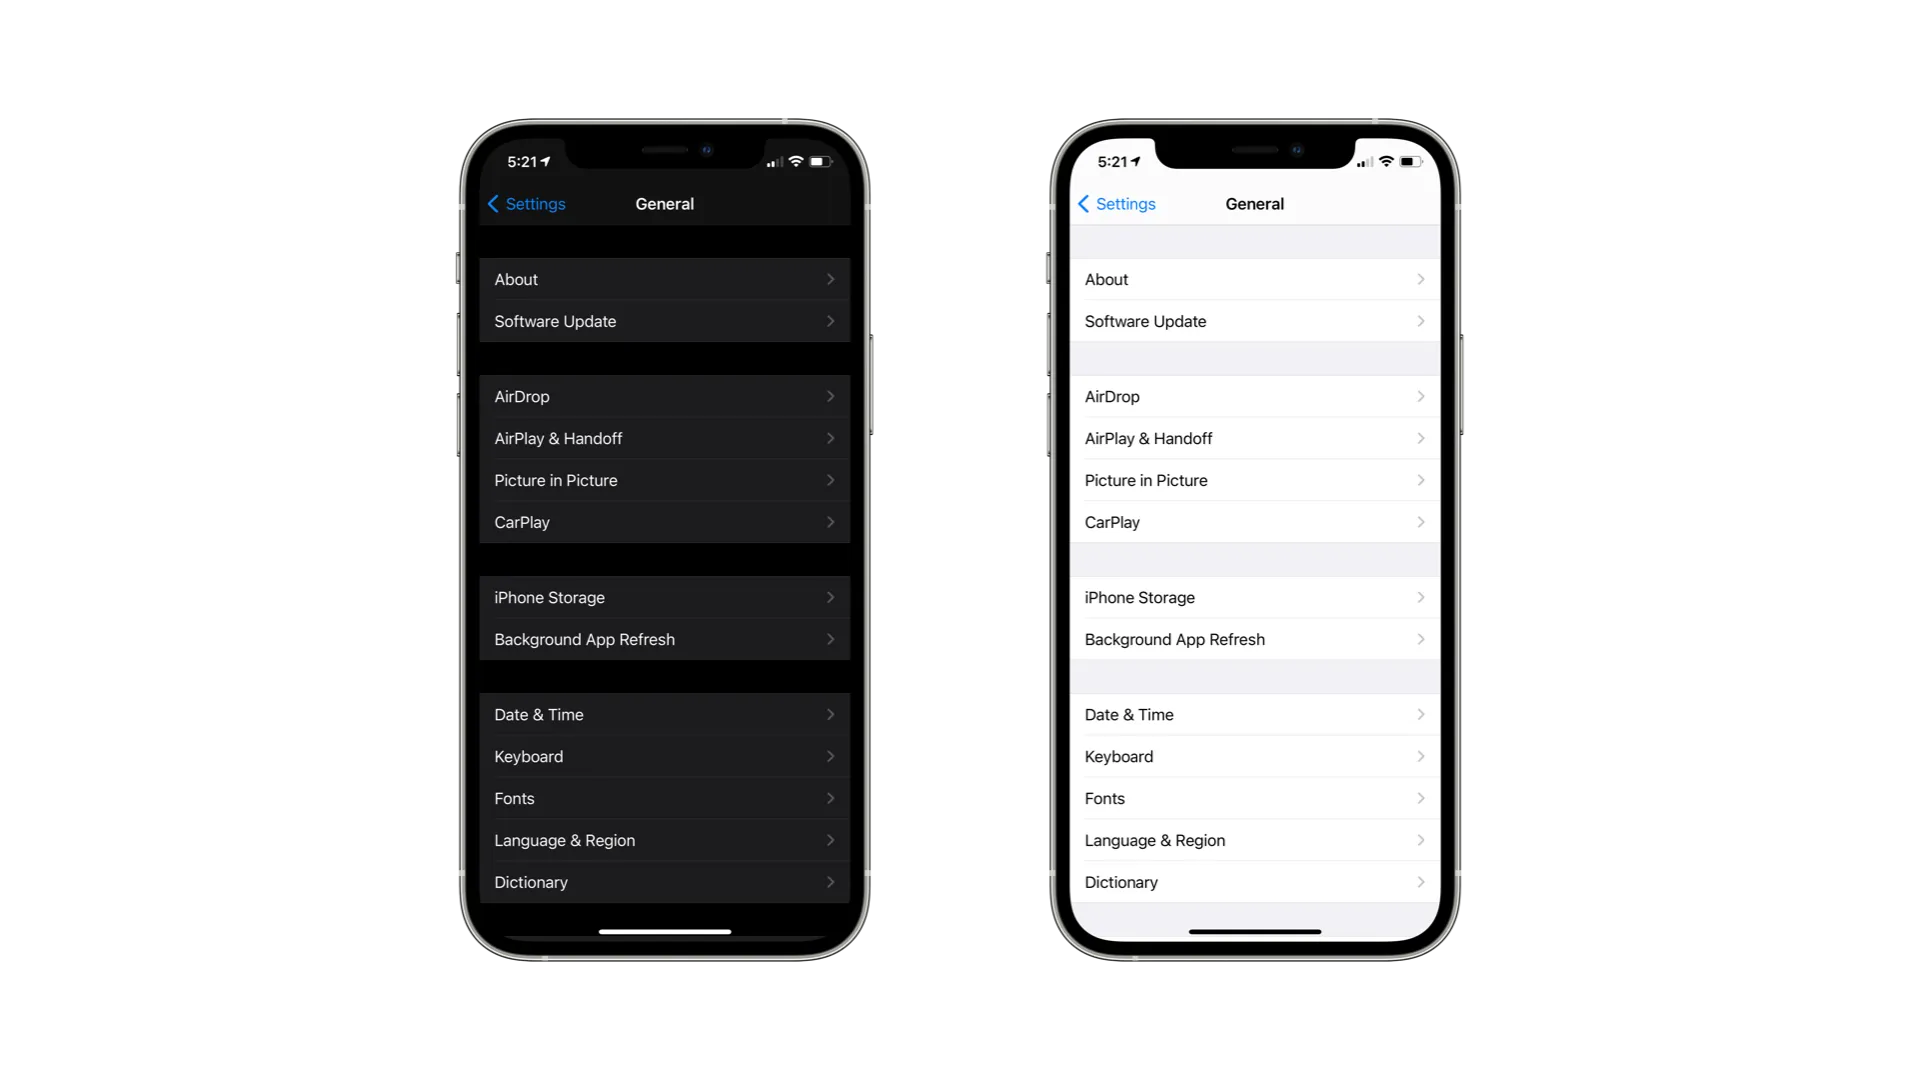
Styling a Xamarin.Forms page
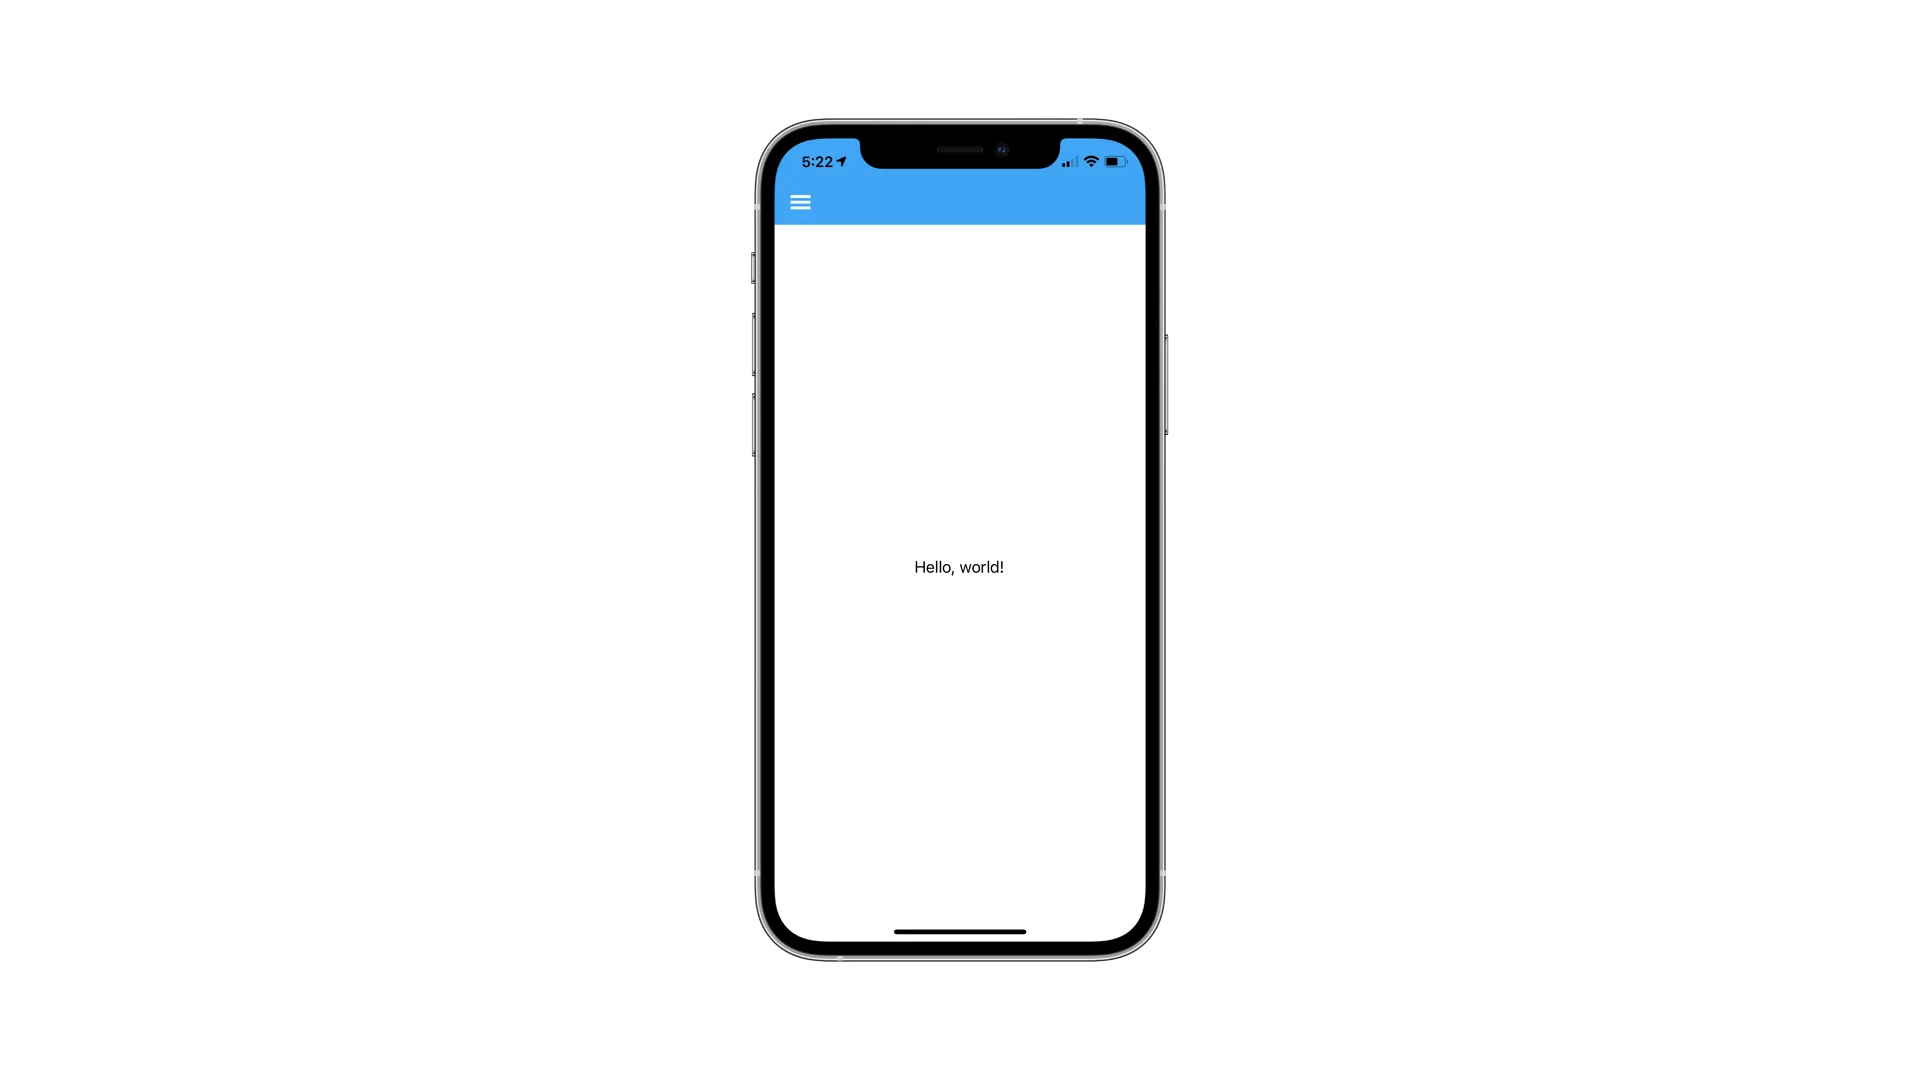
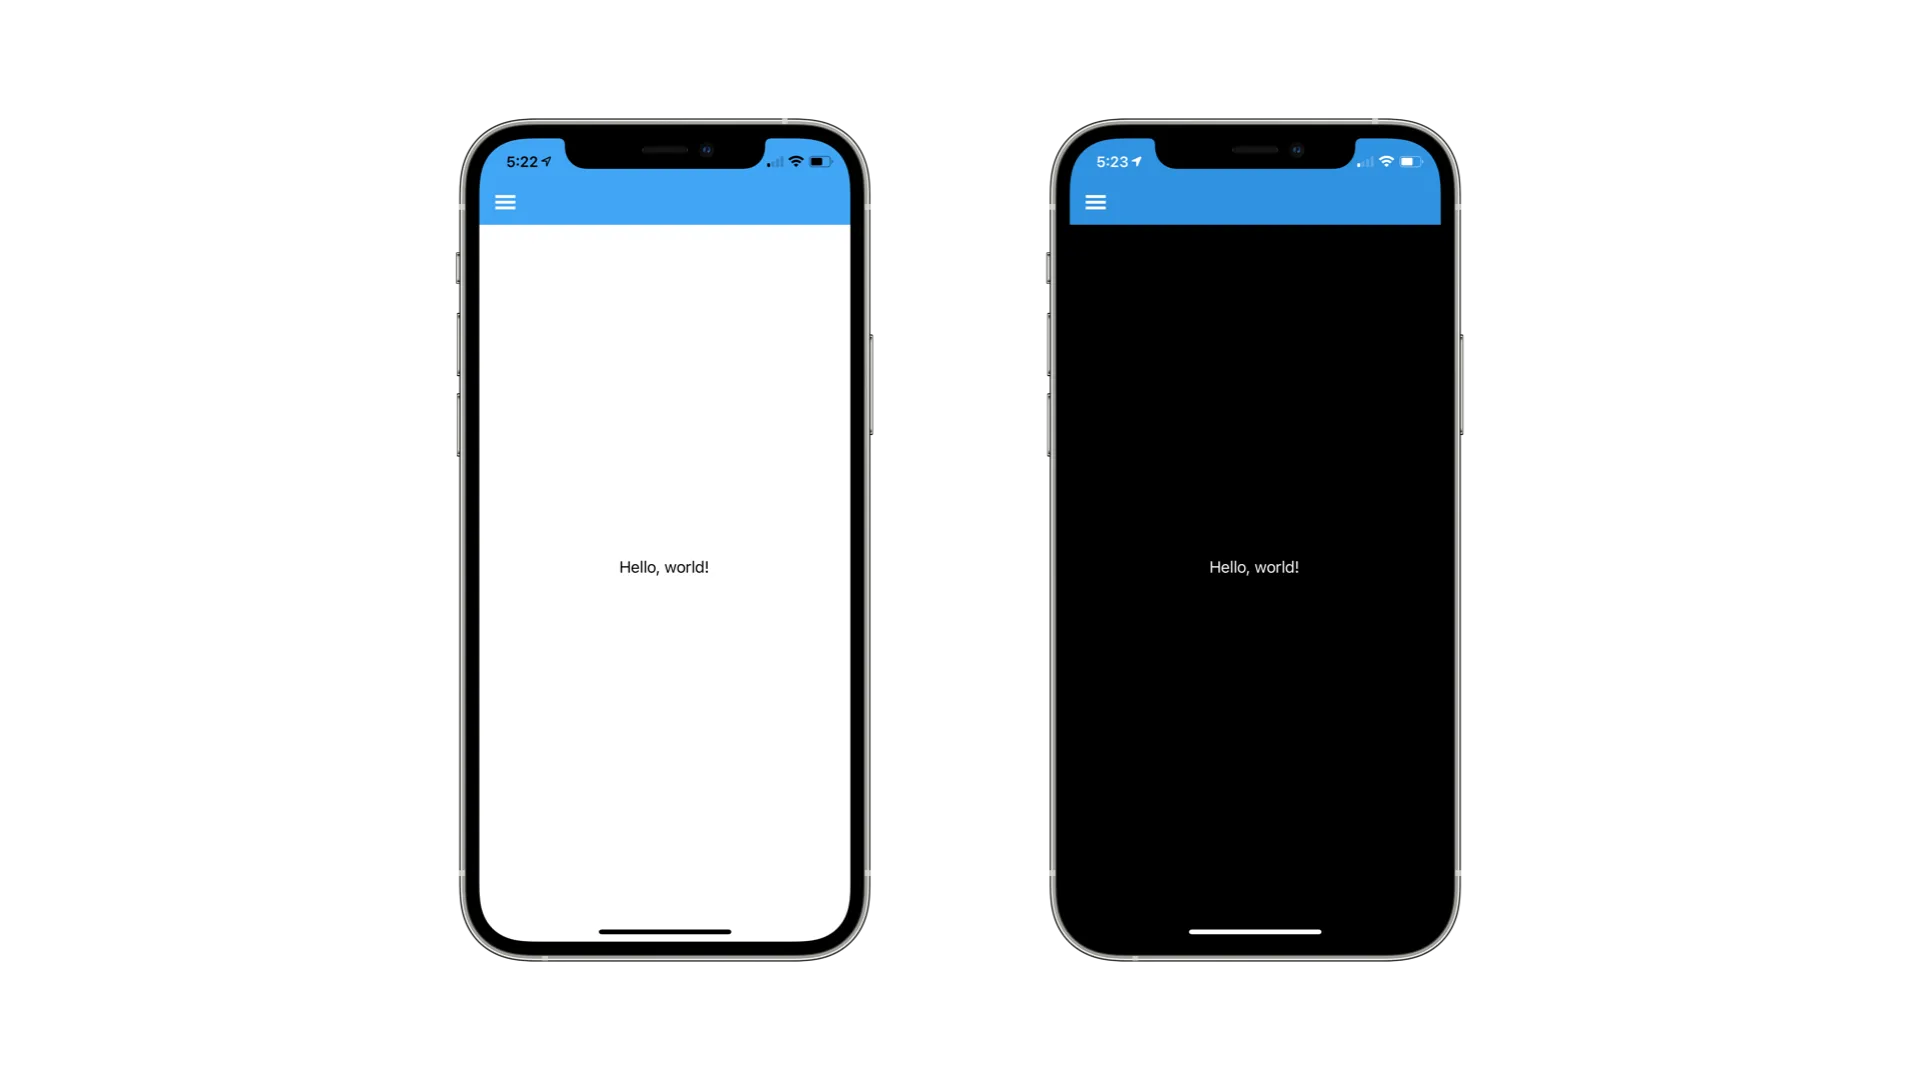
How can you achieve something like that in your Xamarin application? First of all here is a brand new Xamarin page with the iOS set to use a light theme. You can see the the default ‘Hello World!’ text label is black on a white background. Just to note this example was created in a Xamarin.Forms shell application that is why you can see a blue bar at the top.
Now what does the same page look like with iOS set to use the dark theme.
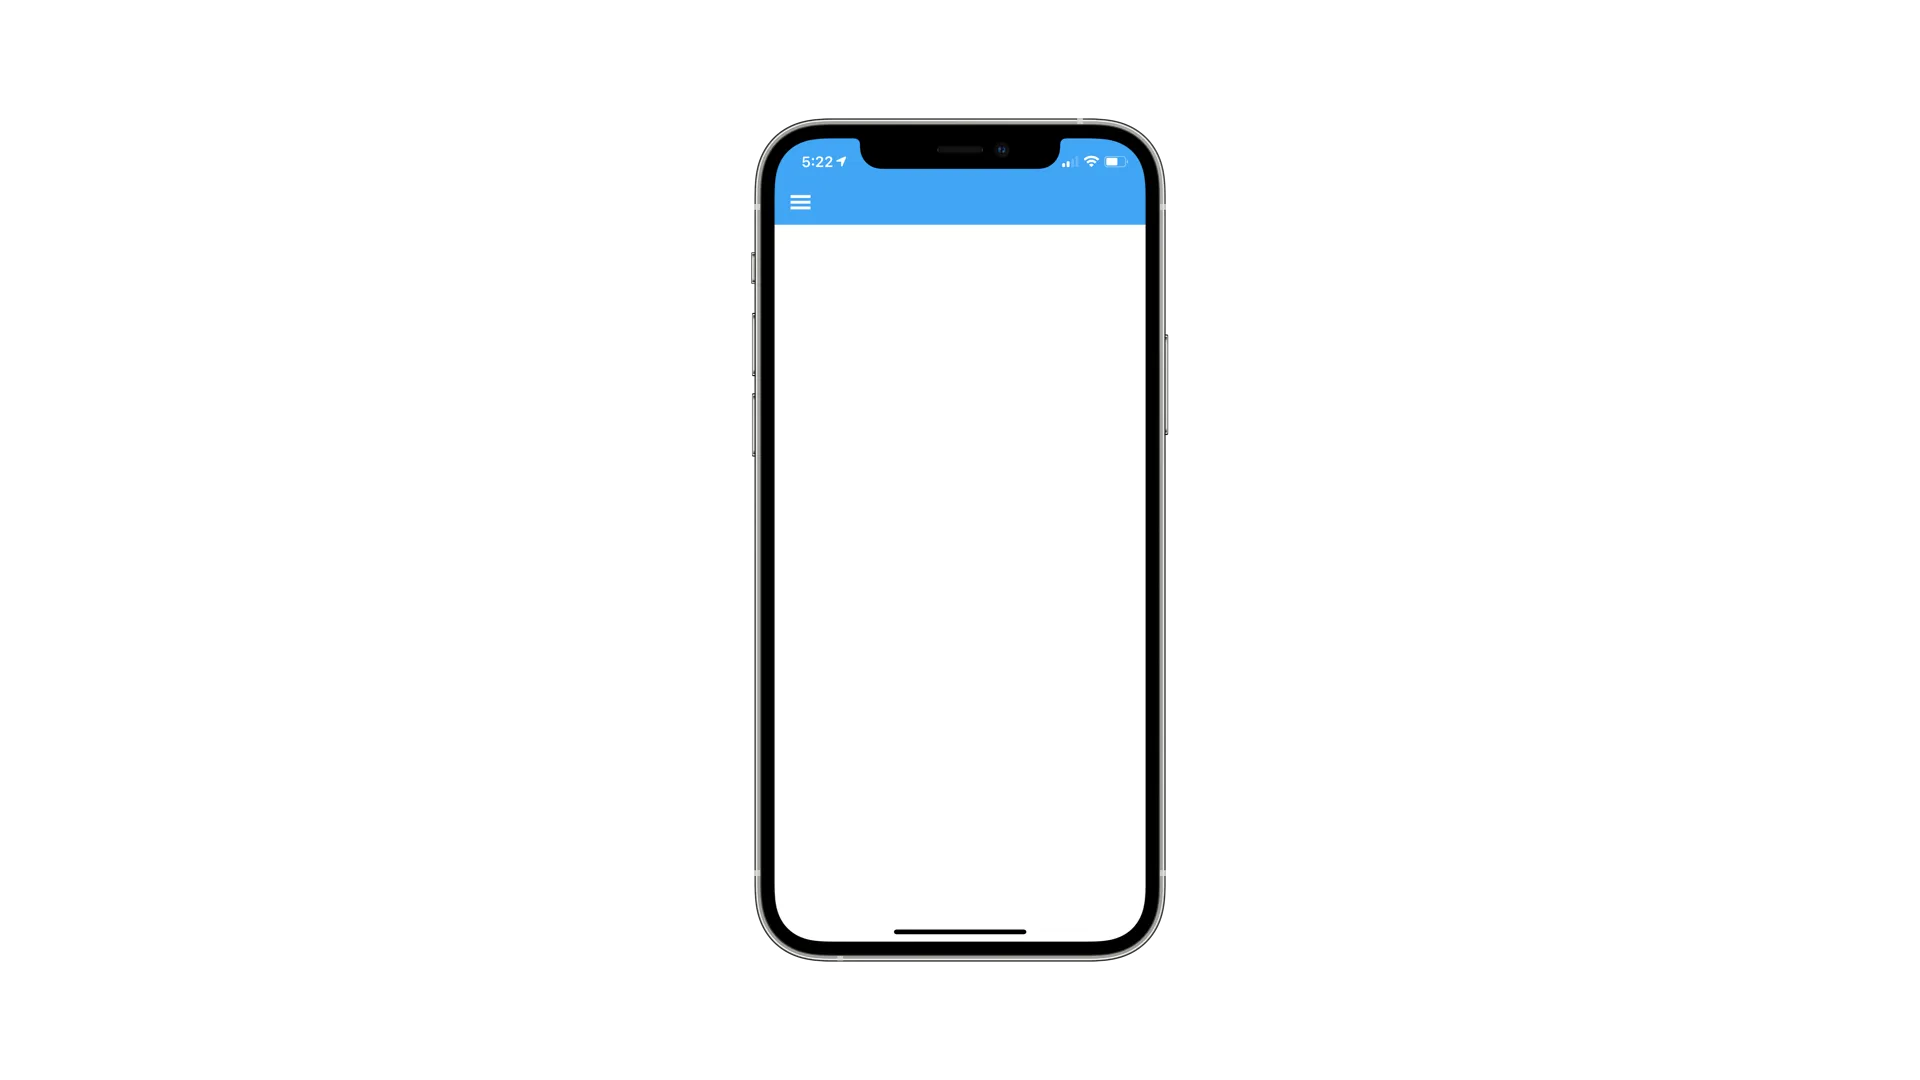
You might be wondering where has the text gone? It turns out the text is still there but the label is responding to the system being in dark mode so the text is now white and by default the background doesn’t respond in the same way and will always stay white, this is why it appears that the text is missing.
Before I explain how to use AppThemeBinding lets see how you can set the background colour of a Xamarin.Forms page. To set the background colour to be black you just add the following line to the opening tag of your content page.
Background="Black"You can see it used in the ContentPage tag below.
<ContentPage xmlns="http://xamarin.com/schemas/2014/forms"
             xmlns:x="http://schemas.microsoft.com/winfx/2009/xaml"
             x:Class="ComponentsScratch.Views.SystemThemeExample"
             Background="Black">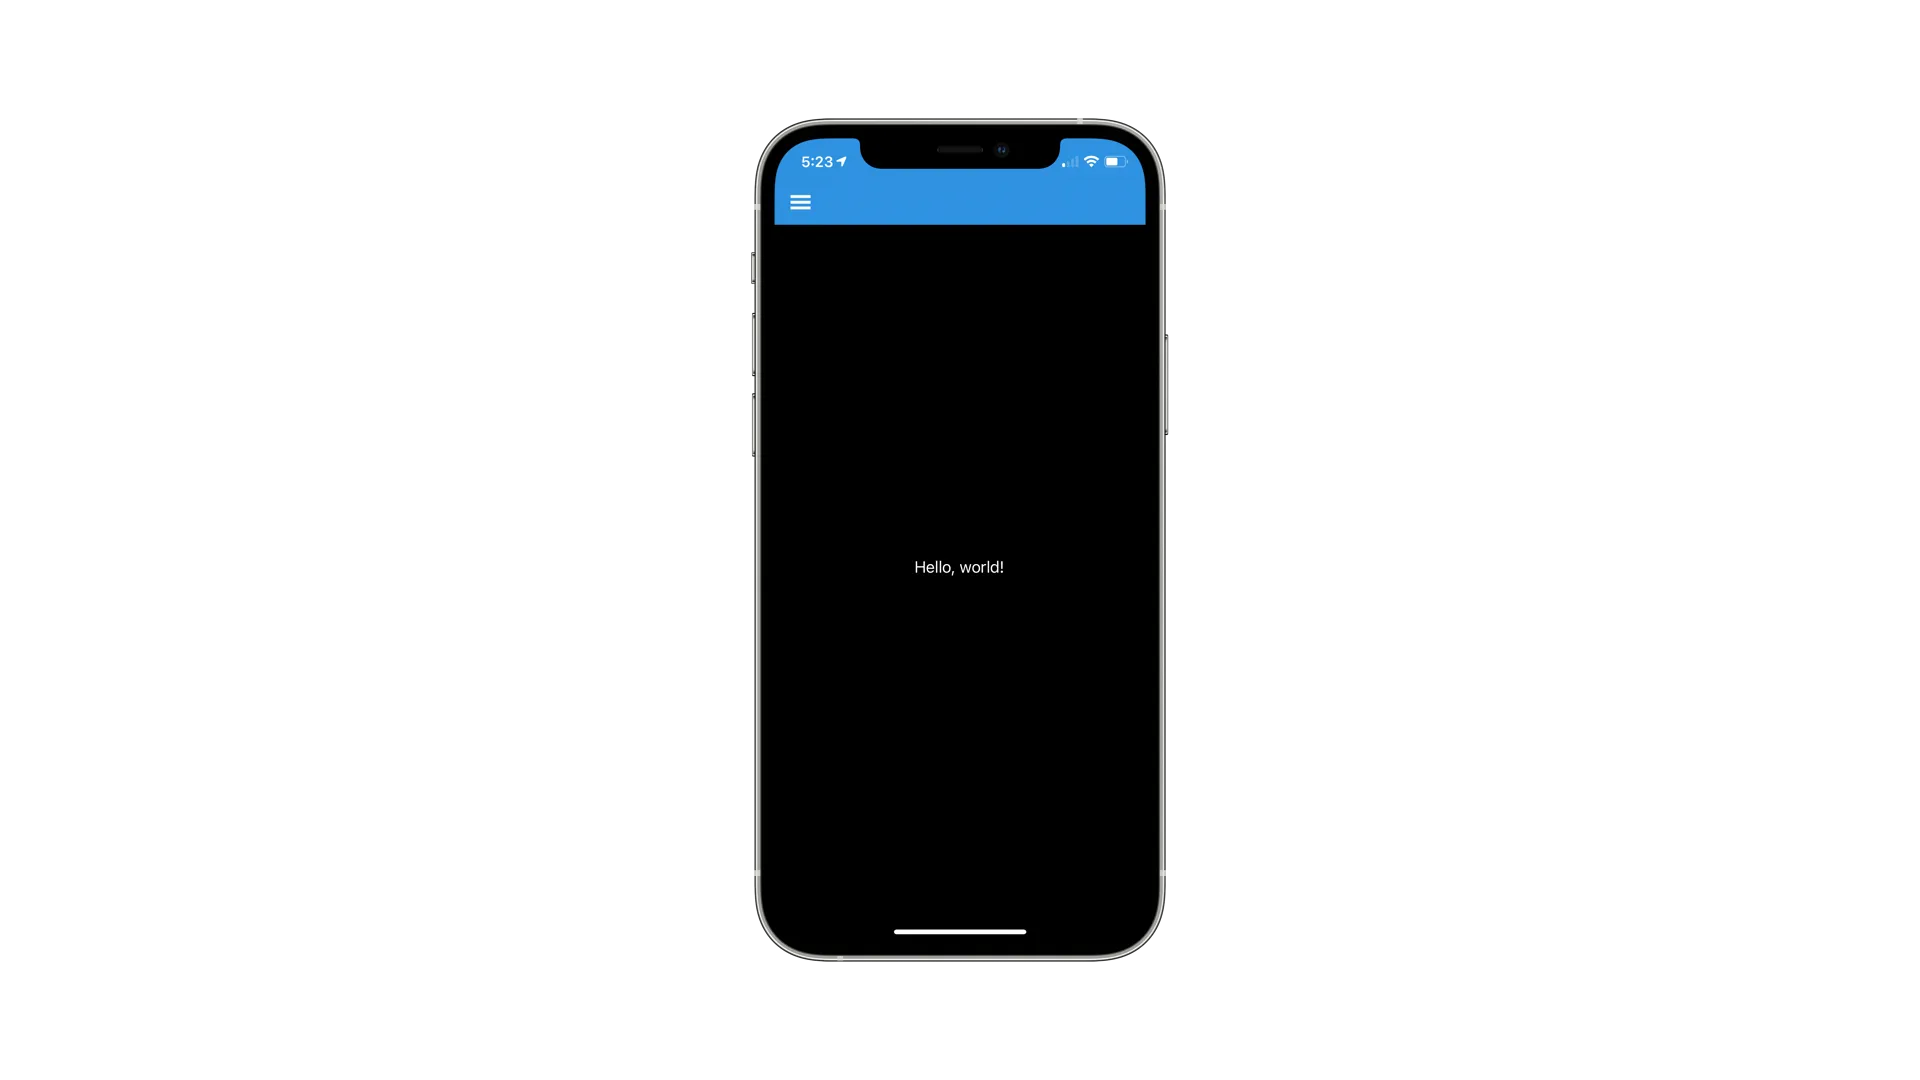
As you see now the Background is black and you can see that the text was white and this is why it wasn’t visible on the white background, but this code will mean the background is always black so when the system theme is set to light then the text won’t be visible again. Lets see how to use AppThemeBinding to allow the background to change based on the theme that is set.
Background="{AppThemeBinding Dark=Black, Light=White}"In this example you can see instead of just setting the background to Black it is using the AppThemeBinding markup extension. This extension has a number of properties that you can use but the example is only showing that when the extension detects the system is set to a Dark theme then it will set the Background to be black and with it is a light theme it will be white.
You can find the complete code for the page with the line in it above at the bottom of this post. With the background now set to respond to the system theme you can see it in action below.
If you would like to use AppThemeBinding and have it respond to a system theme change then you must meet the following requirements
- Xamarin.Forms 4.6.0.967 or greater.
- iOS 13 or greater.
- Android 10 (API 29) or greater.
- UWP build 14393 or greater.
- macOS 10.14 or greater
If you want to take a look at every thing you can do with AppThemeBinding like getting the current system theme to use in your code, or forcing your application to only use a dark or light theme then Microsoft have some in depth docs available on here
<?xml version="1.0" encoding="utf-8"?>

<ContentPage xmlns="http://xamarin.com/schemas/2014/forms"
             xmlns:x="http://schemas.microsoft.com/winfx/2009/xaml"
             x:Class="ComponentsScratch.Views.SystemThemeExample"
             Background="{AppThemeBinding Dark=Black, Light=White}">
    <ContentPage.Content>
        <StackLayout>
            <Label Text="Hello, world!"
                   VerticalOptions="CenterAndExpand"
                   HorizontalOptions="CenterAndExpand" />
        </StackLayout>
    </ContentPage.Content>
</ContentPage>